
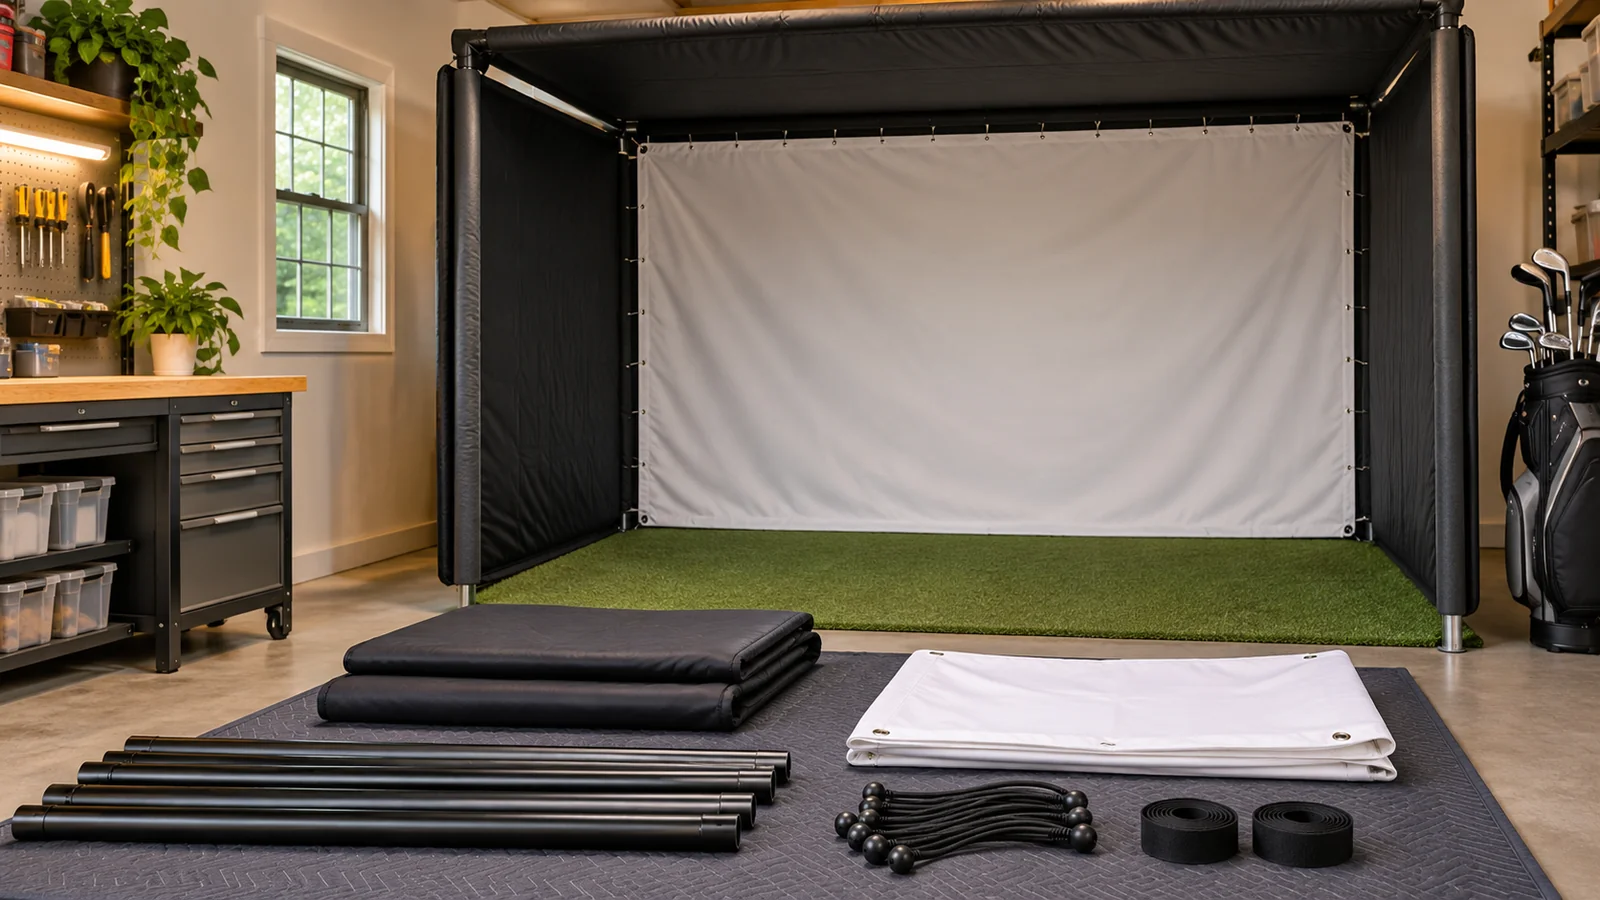
A DIY golf simulator enclosure is not simply a projector screen fastened to plumbing pipe. It must contain real golf balls, support a properly tensioned impact surface, allow safe swing clearance and fit the launch monitor’s tracking layout. Before ordering fabric or cut pipes, decide whether you want a net-only practice bay, a projected simulator bay or a permanent multi-user room. Each has different material and installation requirements.
Quick answer: Begin with a manufacturer-rated impact screen or enclosure kit and work backward from its actual outside frame dimensions, not its advertised viewable size. Then reserve room for ball-to-screen clearance, mat height, side and top containment, launch-monitor placement and structural access. When in doubt, consult a qualified installer for anchors, overhead loads, electrical work and safety decisions.
This is planning guidance, not a certified structural design. Exact ratings, piping sizes and fastener requirements come from your chosen screen/enclosure maker and local building requirements.
Choose the right enclosure type
| Design | Advantages | Limits |
|---|---|---|
| Net-only station | Lower complexity; useful without projection | Does not provide a flat projected image |
| Frame and impact screen | Flexible screen size and aspect ratio | Requires correctly designed side/top protection and frame tension |
| Manufacturer DIY enclosure kit | Matched screen, frame fittings and dimensions | Not every kit includes pipe, projector, turf or launch monitor |
| Finished dedicated simulator room | Better control of lighting, acoustics and long-term placement | Most expensive and difficult to reverse |
Step 1: measure the actual room envelope
Measure the room width at the floor, middle and ceiling, plus ceiling height along the entire driver swing arc. Garage doors, tracks, beams, lighting, storage shelves and HVAC ducts can create a smaller usable envelope than the wall-to-wall dimension implies. Swing clearance is personal: test a controlled slow swing without a ball while a second person observes all obstructions. Do not treat any generic nine-foot ceiling figure as a universal safe minimum.
Depth is a sum of separate needs: protective space behind the impact screen, ball-to-screen distance, sensor position and safe space behind the golfer. A rear radar monitor such as Garmin R10 calls for six to eight feet behind the ball and at least eight feet of ball flight toward the net. Side and overhead sensors can change the sensor geometry, but not the required margin around a real club or fast-moving ball.
Step 2: size the frame rather than only the picture
A listed “10-foot screen” can refer to the frame, finished fabric or viewable image. Carl’s Place publishes DIY enclosure specifications distinguishing nominal size, outside height/width, viewable dimensions and actual depth. Frame fittings and fabric tension can make the outside footprint materially larger than the projected picture. Request the exact dimension sheet for the kit and version you plan to buy.
Choose aspect ratio according to the physical opening and projector: 4:3 works in narrower rooms; 16:9 can create a wide picture when sufficient width exists. A 16:9 image on a nearly square screen will leave unused cloth unless you change scaling or cropping. Do not stretch the projected picture beyond the screen’s safe hitting area to make a photograph look full.
Step 3: select an impact screen designed for real balls
Ordinary decorative fabric, a home-theater screen or generic mesh can fail under golf-ball impacts. Select material the manufacturer explicitly recommends for the intended ball speed, hit frequency and screen mount. Review its instructions for standoff distance, tension, bungee placement, replacement schedule and allowable damage. The front image may look smooth, but too much tension can increase rebound. Too little tension can allow sagging or uncontrolled contact with rear objects.
Inspect the screen after every session. If stitching separates, perforations open or rebound behavior changes, stop use. Multiple layers can alter performance and need manufacturer approval; more cloth is not automatically safer.
Step 4: provide top, side and rear protection
A golf ball can miss high, low or sideways even when the player usually hits the center. The enclosure needs suitable side netting/panels, overhead catch protection and controlled flooring near the strike zone. Hard metal frame members should not be left exposed in likely ball paths. Protective padding and fabric need their own manufacturer rating and attachment plan.
Behind the screen, leave the clearance specified by the manufacturer, especially if the structure is near masonry, glass or a vehicle. A screened bay is not a warranty that every mis-hit will be caught. If children, bystanders or pets can enter the area, create a controlled access rule before anyone swings.
Step 5: understand DIY pipe and anchoring trade-offs
Pre-cut enclosure pipe kits can reduce measurement errors but must be matched to the exact corner fittings. Generic tube thickness, connector material and hanging loads should not be copied from an unrelated product photograph. The manufacturer should specify cut list, diameter, load limits and instructions for optional roof or side elements. Heavy overhead equipment and mounts need suitable building structure—not just drywall or temporary shelving.
A freestanding frame and a building-anchored frame behave differently under impact and when bumped. For structural attachments, ask a qualified installer to verify the wall/ceiling substrate and permitted fasteners. Never suspend a projector or launch monitor by the enclosure net or impact-screen fabric.
Step 6: plan the hitting mat and ball position
Choose a mat that supports normal stance and repeatable tee height without sliding. If the ball rests noticeably above the surface under your shoes, you may change your address position unintentionally. A replaceable striking strip can reduce long-term maintenance expense, while an oversized mat can make the garage harder to share with a vehicle.
Place the ball only after deciding the launch monitor. Camera-based models need a marked hitting zone; a rear radar unit needs a clear alignment lane. The enclosure and mat must enable the manufacturer-approved sensor position without violating swing or walk-path clearance.
Step 7: match the projector throw to the finished image
A projector specification uses throw ratio: throw distance ÷ image width. For example, a projector with a 0.7:1 throw ratio making a 10-foot-wide picture generally needs about 7 feet from lens to screen, before lens-shift, zoom and specific installation constraints. This is an illustrative calculation, not a mounting recommendation. Verify the manufacturer’s throw calculator with your exact projector and desired image width.
You also need enough clearance so the golfer does not strike the projector and so players do not cast shadows on the image. Projector brackets, power cables and the full swing arc must be checked together. A bright image does not compensate for a screen positioned too close to an unsafe object.
Step 8: plan sound, lighting and ventilation
Impact screens transmit substantial noise, especially in a garage with hard walls. Treat acoustic measures as comfort improvements only; they do not replace ball-stopping protection. Use room lighting that meets the camera sensor’s requirements while avoiding projected-image glare. Any wall treatment near the ball path should be installed for that purpose and inspected for fire and electrical suitability.
Projectors, gaming PCs and dehumidifiers add heat. Allow ventilation according to the equipment manuals and keep liquid away from power strips and floor cords. A finished-looking studio can still fail as a comfortable room if humidity, dust or heat are ignored.
DIY preflight inspection: a build is only ready after a containment check
A home enclosure is a ball-containment system first and a projection surface second. Do not use ordinary decorative projector fabric as an impact screen or assume that a backdrop catches shanks. Select materials specifically sold for golf-ball impact and follow their mounting, standoff, tensioning and replacement instructions. Keep spectators out of the hitting zone, provide protective side and top barriers, and check whether rebound paths reach doors, windows or hard flooring.
Before anyone hits a real ball, use the longest club for an unloaded swing-clearance assessment, confirm that the structure and padding do not intrude into the swing, and have a qualified installer verify any structural anchoring or electrical work. Check all exposed hard components, joining clamps, bungees, frame feet and projector mounts. Do not improvise engineering load ratings for overhead pipe, ceiling bolts or a frame without manufacturer instructions.
Document the build in a short inspection log with frame joints, fabric wear, net tears, exposed edges, fastener movement, ball-marked areas, electrical cords and the date inspected. Recheck it after moving the unit, changing clubs, replacing the screen or noticing a hard rebound. Repeated ball impacts may change fabric stretch and how a screen returns a ball.
Quote comparison: a professionally designed or installed kit can save time, but verify whether the package includes side curtains, pole pads, connectors, floor anchoring and replacement fabric. A DIY pipe frame is not automatically cheaper or safer after materials, tools and service labor are counted.
Parts and ordering checklist
Use an itemized bill of materials rather than buying from a staged listing photograph:
- Rated impact screen, manufacturer-approved fixings and replacement information.
- Matched frame/corner fittings, documented pipe cut lengths and any additional side/top containment.
- Hitting mat, optional replaceable strip, tees and stable floor surface.
- Launch monitor, correct mount, alignment aids and connection accessories.
- Projector, supported computer or tablet, cables and required simulator license.
- Protective padding, safe electrical routing, ventilation and clear room access.
An enclosure kit may include only some of the above. Mark each item included, optional or purchased separately before comparing sellers.
Worked ordering example – a Carl’s Place DIY C-Series kit
Suppose you choose the maker’s 7.7 × 10 × 5-foot nominal DIY enclosure option. Open that option’s diagram and the current C-Series assembly manual before ordering pipe. The label is a kit identifier; use its actual outside dimensions, buffer requirements and viewable area for the room and projector plan.
- Specify the exact screen material, enclosure size and matching fittings from the same kit revision.
- Choose either the maker’s matched pipe add-on or source the 1-inch trade-size EMT called for by that kit. Carl’s Place identifies its outside diameter as 1.163 inches; PVC and rigid tubing are not compatible substitutes for its fittings.
- Use the chosen kit’s own length-and-quantity diagram for the cut order. Do not cut all ten-foot stock pieces to the nominal enclosure width or reuse another size’s cut list.
- Mark pieces against the diagram and have cut ends deburred. Assemble, attach fabric, apply padding and inspect clearances in the sequence in the current manual.
- Check screen clearance, surrounding protection, the golfer’s swing and the separate sensor lane before use. The worked order does not certify anchors, ceiling loads or the finished installation.
This example shows how to turn a specific maker’s documentation into an order. It does not create a universal pipe design; use the manual and diagram supplied for the exact purchased kit.
Common DIY failures
Buying by nominal width: The actual frame is wider than the garage bay. Buying by projector image: The desired 16:9 picture does not fit the safe opening. Ignoring sensor depth: A radar device has no valid rear position once the golfer is moved forward. Assuming extra tension is safer: The screen can rebound more aggressively. Forgetting access: You cannot inspect or replace the screen without dismantling half the room. Each failure is cheaper to solve on paper than after the materials arrive.
Read the ProTee VX review before planning ceiling-mounted tracking. Use the enclosure comparison to choose a kit before developing its parts order.
Frequently asked questions
Can I use a normal projector screen for golf?
Not unless it is explicitly impact-rated for real golf balls by the manufacturer. Visual appearance, fabric weight and a generic “durable” label are not safety ratings.
Are DIY enclosures safe in a garage?
They can be appropriate when the installation follows a documented system, the enclosure safely contains the intended shots and the room clears the golfer’s swing. No net or screen makes every mis-hit impossible. Check adjacent vehicles, windows, doors and occupants.
Should I buy a package or build from parts?
A matched package lowers compatibility work; a custom build offers flexibility but increases measurement and installation risk. For a first installation, the manufacturer’s complete dimension sheets and support can be worth paying for.
How far should the ball be from the screen?
There is no universal number. Follow both the enclosure’s safe hitting-distance guidance and the launch monitor’s required ball flight, then confirm the swing and rear clearances. The tighter constraint governs.
Final recommendation
Treat the DIY enclosure as an engineered containment and layout decision before treating it as a décor project. The best outcome is a safe, measurable hitting station with parts you can replace and software you can afford. For individual product choices, see the Best Golf Simulator Enclosures and Best Impact Screens guides; for room depth and ceiling checks, use the dedicated Golf Simulator Room Dimensions guide.