
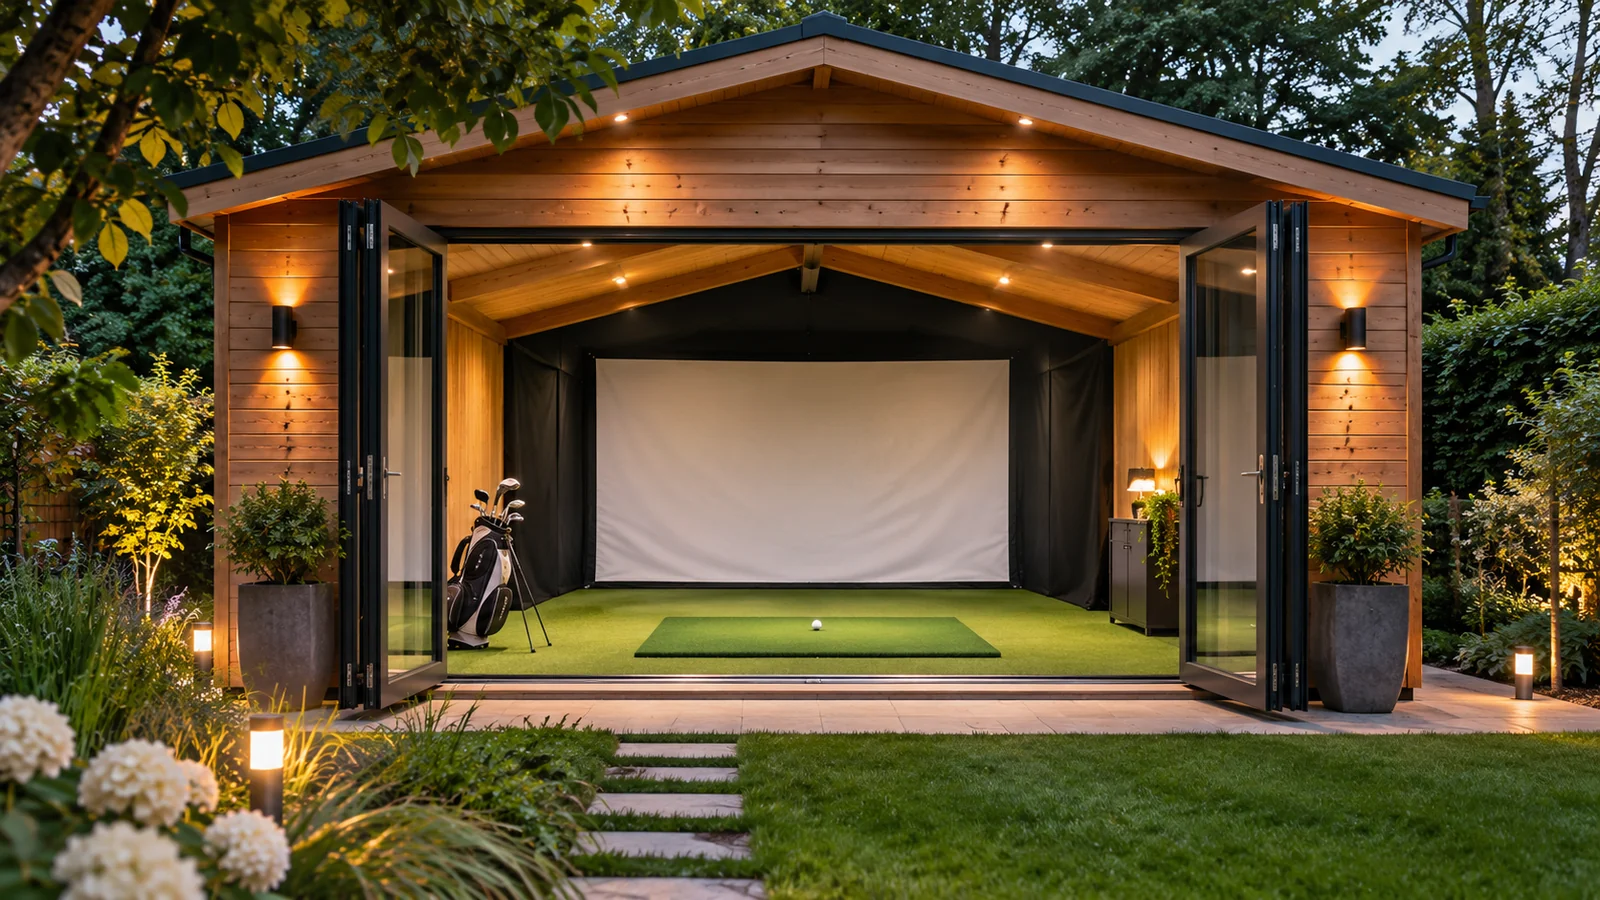
What the shed plan must contain
| Part of the plan | Record before ordering | Common omission |
|---|---|---|
| Finished clear room | Width, length and height after lining, mat and ceiling work | Using exterior shed dimensions |
| Complete swing envelope | Tallest player, longest club and both handednesses if used | Measuring only directly above the ball |
| Impact and tracking lane | Screen setback, ball flight, device location and safe access | Allowing only the advertised net depth |
| Services | Power, ventilation, climate control, networking and lighting | Planning a permanent room around temporary extension leads |
| Site and maintenance | Door access, drainage, security, replacement routes and local approvals | Closing off access behind the screen |
Start with a finished interior, not a shed label
A nominal 12-foot-wide building does not provide twelve clear feet after studs, insulation, lining and acoustic treatment. Sloping roof members can also reduce useful height at the top of the swing. Have the supplier draw the completed occupied space and identify the lowest beam, light or duct.
Check a controlled full arc without a ball in the planned position, including the mat’s final height. Repeat for the tallest player and any left-handed guest. An enclosure fitting between the walls is only one requirement; it does not demonstrate sufficient club clearance.
A worked 14 × 20 × 10-foot planning example
Consider a hypothetical finished clear interior 14 feet wide, 20 feet long and 10 feet high, with no low rafters in the hitting zone. This is an arithmetic example for a rear-radar layout, not a universal minimum or certification that the room is safe.
Measured from the back wall, reserve an illustrative 2-foot screen/inspection zone, place the screen at the end of that zone, and place the ball another 8 feet forward. The ball is now 10 feet from the back wall. An R10 positioned 7 feet behind the ball is 17 feet from that wall, leaving 3 feet to the opposite wall. Garmin’s stated R10 geometry is 6-8 feet behind the ball and at least 8 feet from ball to net; the chosen distances sit within that tracking example.
| Segment | Example allowance | Must be confirmed |
|---|---|---|
| Back wall to screen | 2 ft for this drawing | Exact screen deflection, installation and access instructions |
| Screen to ball | 8 ft | Selected radar mode and containment instructions |
| Ball to rear sensor | 7 ft | Exact sensor model and alignment |
| Remaining length | 3 ft | Door, storage, circulation and device access |
| Finished floor area | 280 sq ft | Exterior footprint needed to deliver that clear interior |
The 2-foot rear reserve is an assumption for the drawing, not a screen manufacturer’s approval. Replace it with the chosen screen’s actual requirement. Width, ceiling height and the enclosure’s full outside frame must be checked separately against the players’ swings, lateral misses, projector and door. If any required segment grows, the exterior building must grow or the equipment plan must change.
Choose the monitor before the walls are fixed
A side-positioned camera monitor can reduce rear tracking depth, while an overhead camera requires a suitable mounting surface and ceiling-to-hitting-surface height. Those changes affect where the ball, screen, door and computer can go. Decide the sensor’s documented layout before pouring a slab or closing a roof.
For shared handedness, mark both stances and the device-changeover procedure on the drawing. A fixed overhead view can simplify switching, but it does not remove the need for a safe swing on both sides. A single-side camera may need repositioning.
Plan the floor and impact zone together
The finished floor should give the mat a stable, level base and avoid trapping moisture below it. Ask the builder about the structural loads and vibration of the proposed construction. A raised timber floor and a concrete slab have different support and moisture details.
Keep the stance and ball heights compatible, leave safe transitions around thick mats and preserve access for screen/net replacement. Frame padding, side/top containment and the area behind the impact surface must follow the selected system’s instructions. Ordinary decorative wall lining is not a rated ball stop.
Provide climate control, power and connectivity
Insulation, vapor control and ventilation depend on local climate and wall construction. A cold storage shed can become a condensation problem once it contains warm people, a computer and a projector. Plan the operating conditions for the electronics and fabric surfaces, including a practical humidity-control arrangement.
Have a qualified electrician design the permanent supply, circuits, outlets and protective devices required locally. List the likely loads, including heating/cooling, computer, projector and lighting. Keep cables away from the swing, walking and ball-return routes. Do not run a permanent outbuilding from a loose extension lead beneath a mat or through a doorway.
Test how networking will reach the structure. Some practice features can work locally, while registration, updates and online rounds may require a connection. Lighting must keep access safe without exceeding the camera’s documented conditions or washing out the screen.
Reserve the projector and service positions
Draw the actual visible screen width and the projector lens location. Lens distance equals image width multiplied by throw ratio as a first calculation; mounting offset, shadows, ceiling fixtures and club clearance still need checking. The overhead sensor and projector cannot both be placed wherever empty ceiling space happens to remain.
Allow maintenance routes to filters, cables, mounts and screen attachments. A completed room should not require dismantling the hitting bay to reach a leaking seal, electrical panel or worn impact screen.
Obtain two itemized quotes
The building quote should identify site preparation, drainage/foundation, shell, finished clear dimensions, insulation/lining, doors, electrical work, climate control, permits and installation. Ask which work is excluded and how the specification changes if you need more internal height.
The golf-equipment quote should separately identify monitor, enclosure or rated net, full mat, display/computer, software, mounts, protection, cables and delivery. Compare those equipment costs using How Much Does a Golf Simulator Cost? A building supplier’s shell price is not a completed simulator budget.
Request local figures for operating and maintenance items such as energy, weather seals, screen replacement and insurance/security. This guide does not quote a universal US shed construction price: site, climate, labor and approved construction can change it substantially.
Check the site and access before committing
Confirm the applicable planning, zoning, setbacks, inspection and electrical requirements with the local authority and relevant professionals. Keep drainage and entry paths away from the impact zone. Consider neighbors, noise, security and the route needed to deliver or replace large components.
Position the entrance so that someone opening it does not unexpectedly enter the ball path. Establish a clear rule for entering the room during practice, and preserve emergency access and ventilation after installing furniture or storage.
Translate the layout into a quote request
Send the same finished-interior drawing to the building supplier, enclosure supplier and equipment installer. Label the hitting position, screen plane, sensor position, door swings, roof slope and planned electrical points. Ask each supplier to mark its required clearances on that drawing; a building quote based on exterior dimensions cannot settle equipment fit.
Then compare the returned scope line by line: foundations and floor finish, insulation, ventilation, electrical capacity, data connection, screen and padding, projector mounting and equipment setup. Record who supplies each item and who checks the completed installation. Resolve conflicting requirements before choosing the building size, because a later frame or roof change can be much harder than changing a tablet stand.
Complete the equipment lines using the simulator cost guide. The room-dimension guide explains the swing and sensor checks behind the worked layout.
QUICK ANSWERS
Frequently asked questions
Select a question to reveal its answer.
Is a 14 × 20-foot shed always enough?
No. The worked example assumes finished clear dimensions and a particular radar lane. Your swing, roof, enclosure and services can require a different plan. Exterior dimensions describe even less about usable space.
Can I convert a normal garden shed?
Possibly, if the completed structure, finished height, services and impact containment meet the project’s requirements. Storage sheds often need more alteration than the equipment itself suggests.
Do I need projection immediately?
No. A supported tablet or display with a rated net can be a useful first operating stage. Projection adds equipment and mounting needs; it does not determine whether the monitor captures shots.
Is a shed better than a garage?
Only when the dedicated structure solves the actual constraints. A garage may already have power and weather protection, while a shed can provide a purpose-planned layout at the cost of a separate building project.